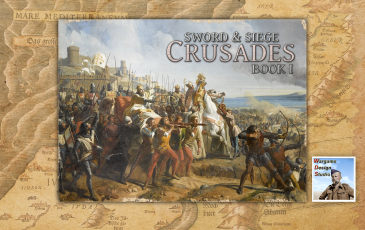
025.Battle of 2nd Heraclea - WDS Crusades: Book I

 0 - 0 - 0

| Rating: | 0 (0) |
| Games Played: | 0 |
| SM: | 3 |
| Turns: | 30 |
| Type: | Stock |
| First Side: | Islamic Alliance (S&S) |
| Second Side: | Crusader Alliance (S&S) |
Date: September 11th, 1101 - Size: Large - Location: A couple miles east of Heraclea
Crusade: The Crusade of 1101
Scenario Briefing: One of the fatal mistakes, and there were many, made by the Crusaders of 1101, was that they were more divided than their opponents. For example, the Sultans of Rum and Danishmend were normally at war with each other. However, when it was apparent that more Crusaders would be passing through their lands, they put aside their differences to avenge their defeats of 1097-1098. These defeats were a stain on both their honor and their reputations. To repair this damage, they were willing to unite in an effort to kill as many Crusaders as possible.
As for the Crusaders, so many were enemies at home, it was very difficult to put their rivalries aside for the benefit and success of this Crusade. One example of this, Duke William IX of Aquitaine and Raymond IV of Toulouse were old enemies and could not be expected to unite. Additionally, Duke Welf IV of Bavaria and Conrad, the constable for Emperor Henry IV, were also enemies. With this disunion, the armies fought three major land battles as three distinct groups. And each was destroyed in detail.
With the 2nd Battle of Heraclea, you have an opportunity to either repeat history or change it. If you choose to fight as a Crusader, you have two choices. As you are a few miles east of Heraclea and the rotting bodies of the Crusaders massacred a week earlier, your men are tired, hungry and above all thirsty. You can make for the stream to drink from it's clean waters, or try for the exit hex at 114, 24. Note that your units are starting this scenario with a fatigue level over 100. If on the other hand, you decide to lead the Seljuk mounted archers and spearmen, you must stop and kill the Crusaders. Note that as this battle is taking place later, many of the Seljuk stragglers have caught up with their comrades and have added their numbers to those already on the field.
Recommended Rules: [Default]
Intended to be played as either army against the AI. Perhaps a bit easier if you are leading the Crusader forces against the Muslim Seljuks or Head-to-Head.


